
Making Soft Plastic Swimbaits

I’ve always liked making things. Especially when those “things” involve archery, bowhunting or fishing.
Past projects include bows, arrows, fly rods and fly tying. This recent project came by the way of an episode of “Hook Shots” podcast that featured Brad Hardy of Oracle Lures. The podcast discussed the allure of hand pouring soft plastics and a little on the process of making them.
While it doesn’t take much to convince me to do something fun like pouring soft plastics. “Hook Shots” host Joe Cermele’s general enthusiasm for all things fishing might have played a part in getting me started. Past “Hook Shots” episodes have led me to fly fish for muskies, tie big streamers and want to hunt snakeheads on the Potomac, which is happening next month.
Ceremele’s wizardy aside, I’ve listened to that episode three times now, and it’s still one of my favorites. After a little research, I realized you could dive into hand pouring soft plastics with very little initial investment and enthusiastically jumped in.
I’m three days into this new endeavor and nowhere near an expert but, I’m starting to get the hang of it. If you’re curious on how they’re made here’s the basic process for hand pouring a soft plastic lure.

A small table in a well-ventilated area is all you need to get started.
What You Need
Microwave
Measuring Cup
Glitter
Plastisol
Dye
Respirator
Silicone Gloves

Plastisol hot out of the microwave.
Measure and Melt the Plastisol
Pour one cup of plastisol into a Pyrex measuring cup. (One cup of plastisol yields about 15 baits with my molds.) After 3 or 4 minutes in the microwave the plastisol goes from a milky liquid to clear molten plastic. You want the plastisol to reach 350 degrees.
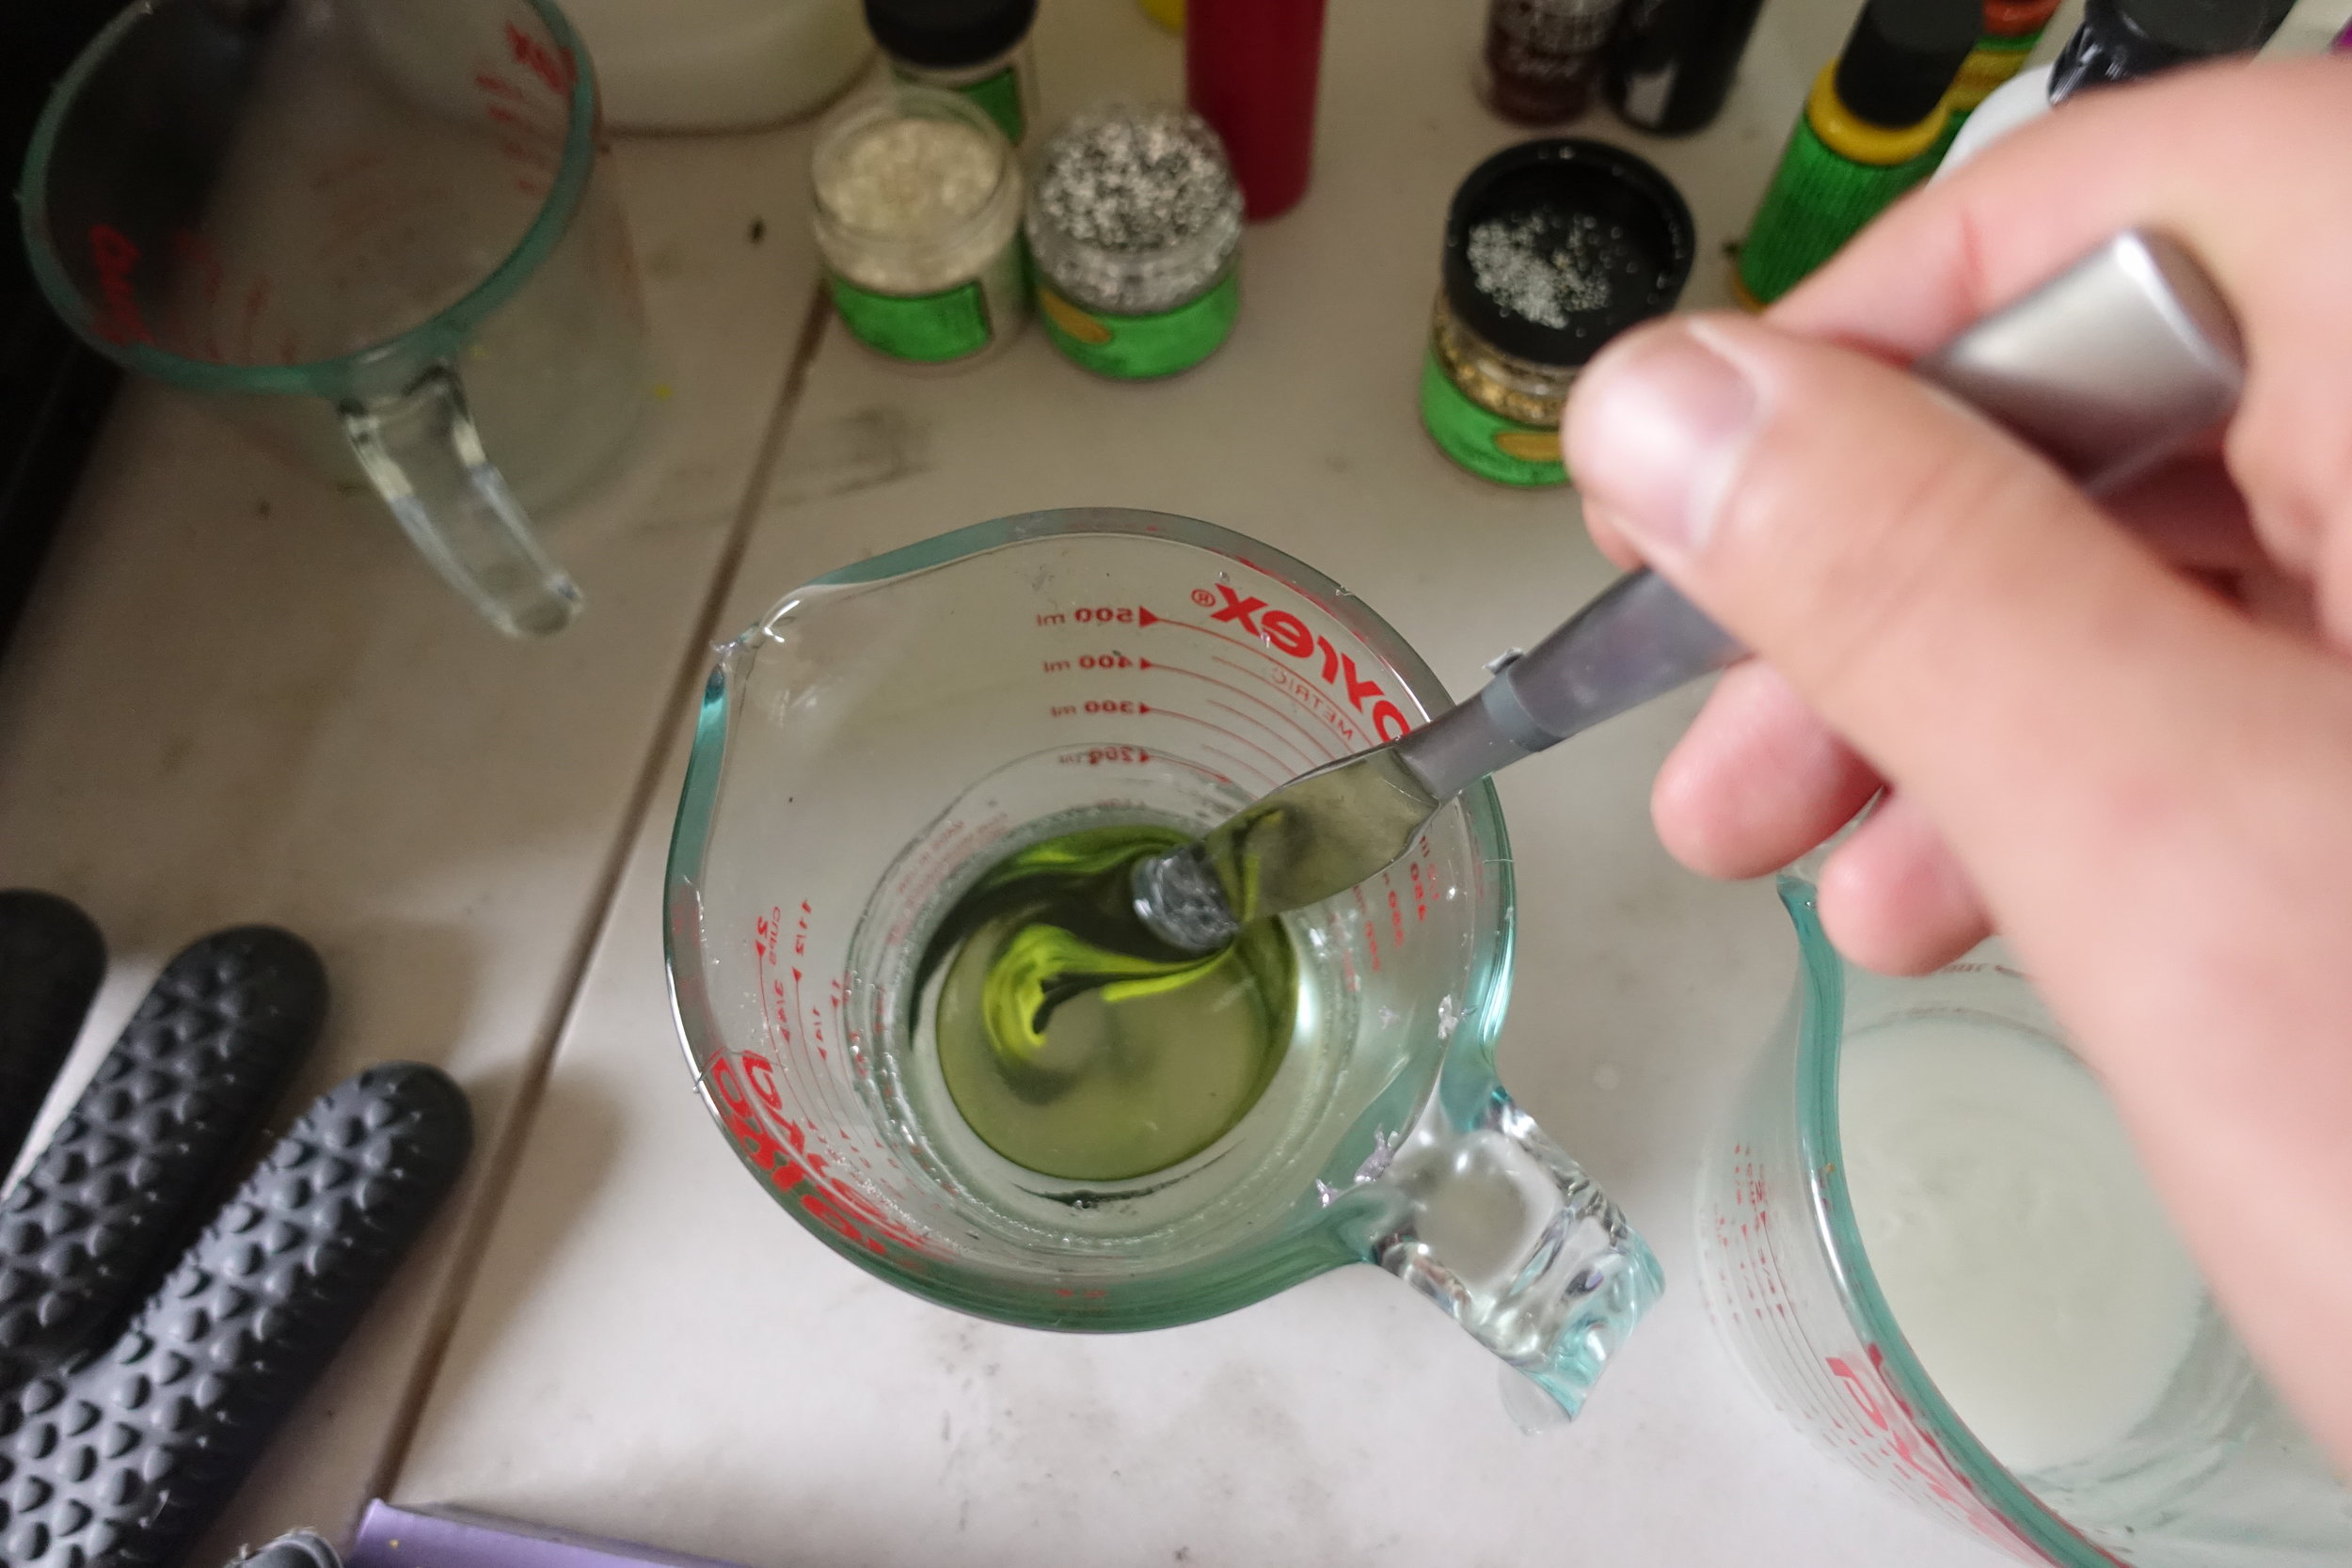

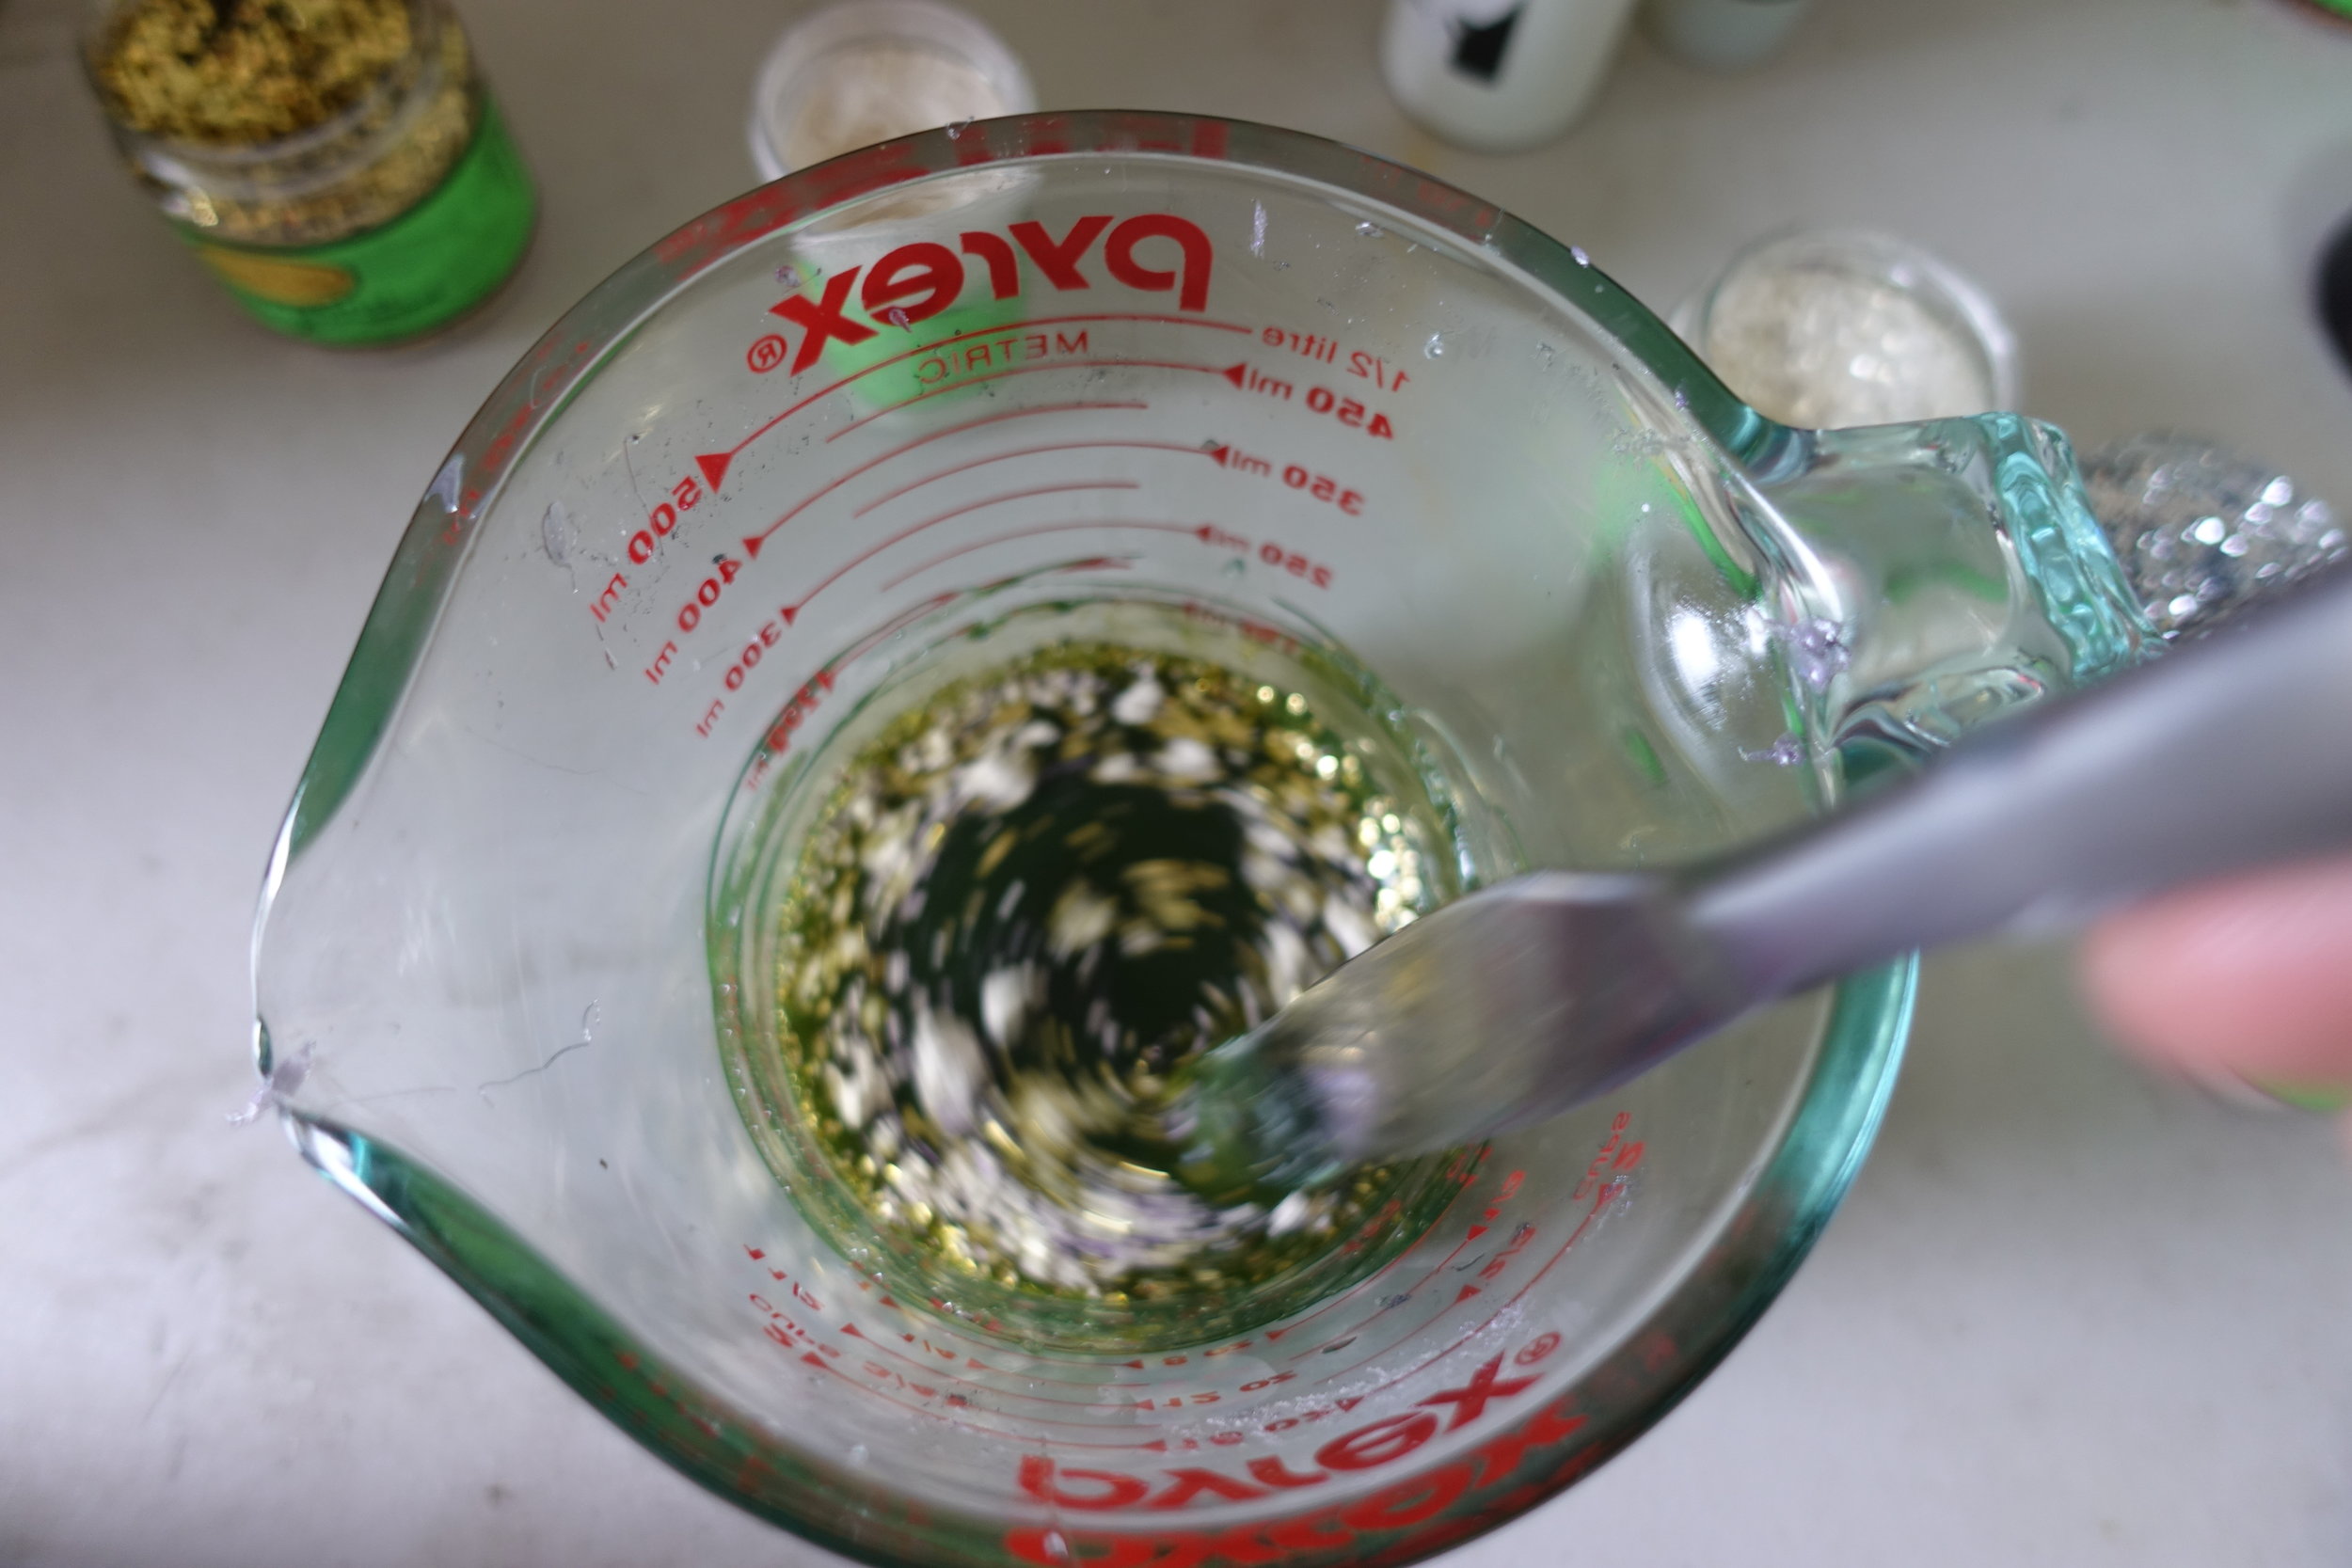

Add the Color and Glitter
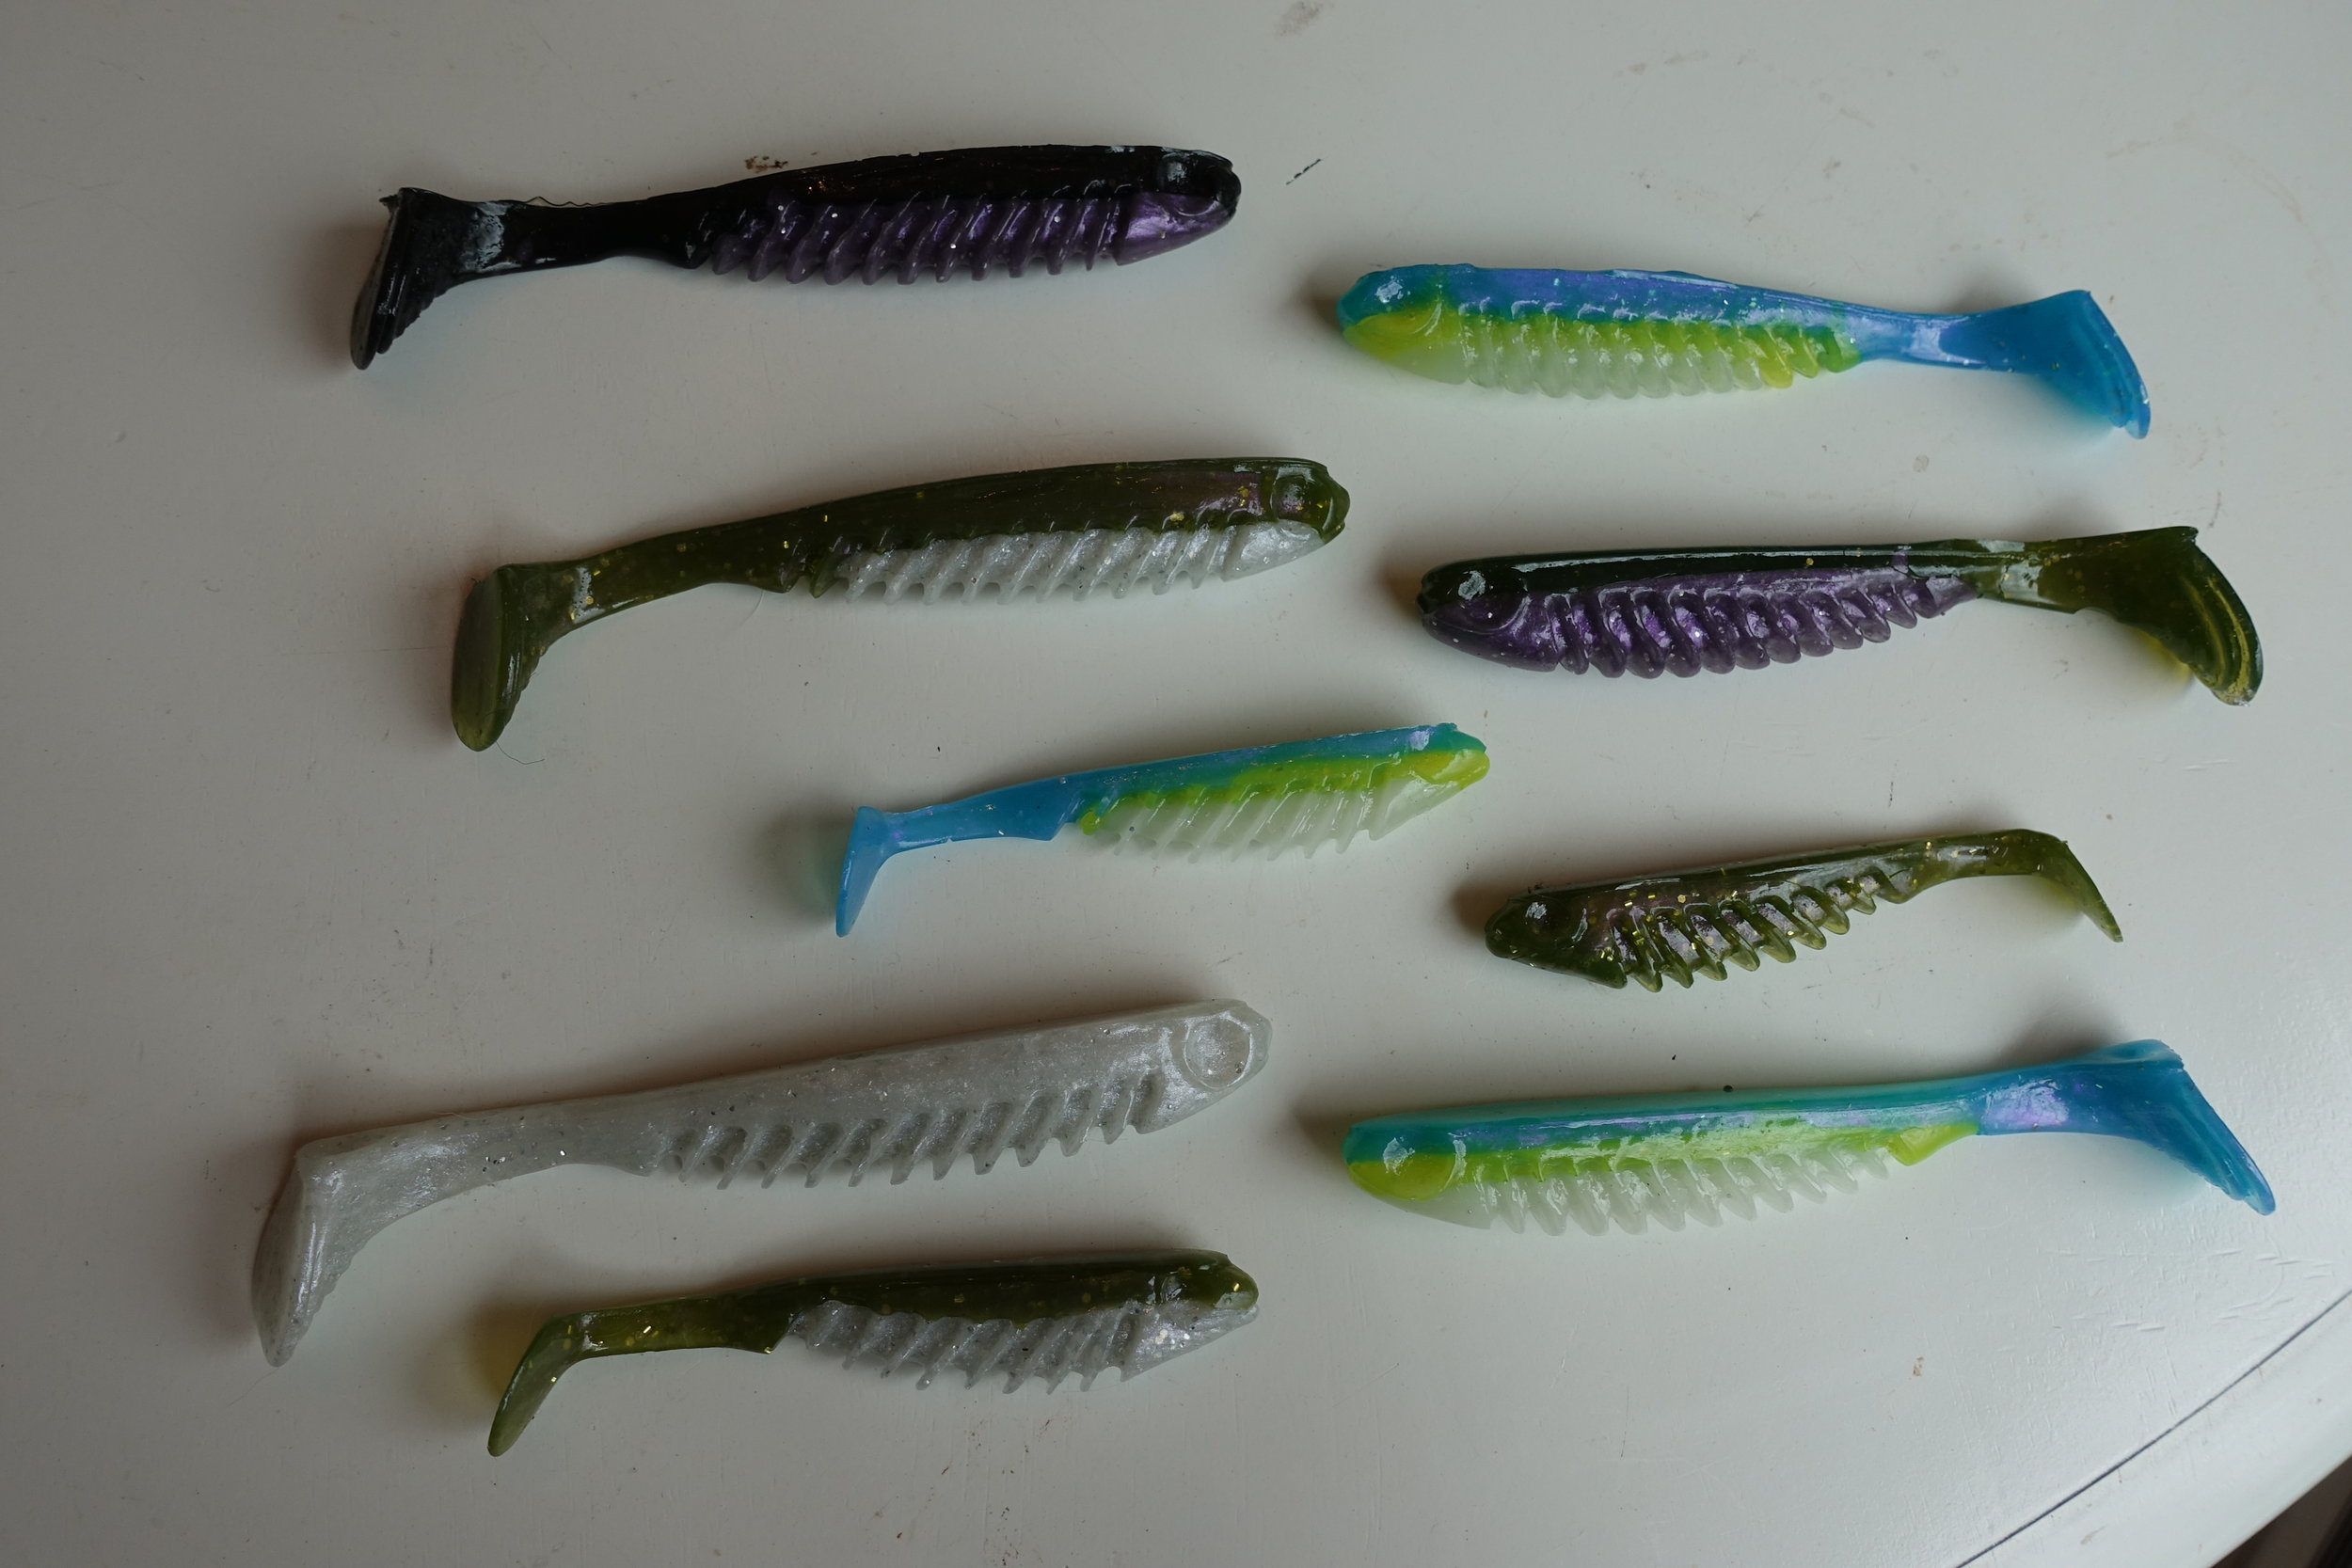
This step is a lot of fun. I’ve spent many hours searching for photos of various forage fish and thinking of ways to imitate them. Making a color is like making a sauce. A little of this, a little of that.
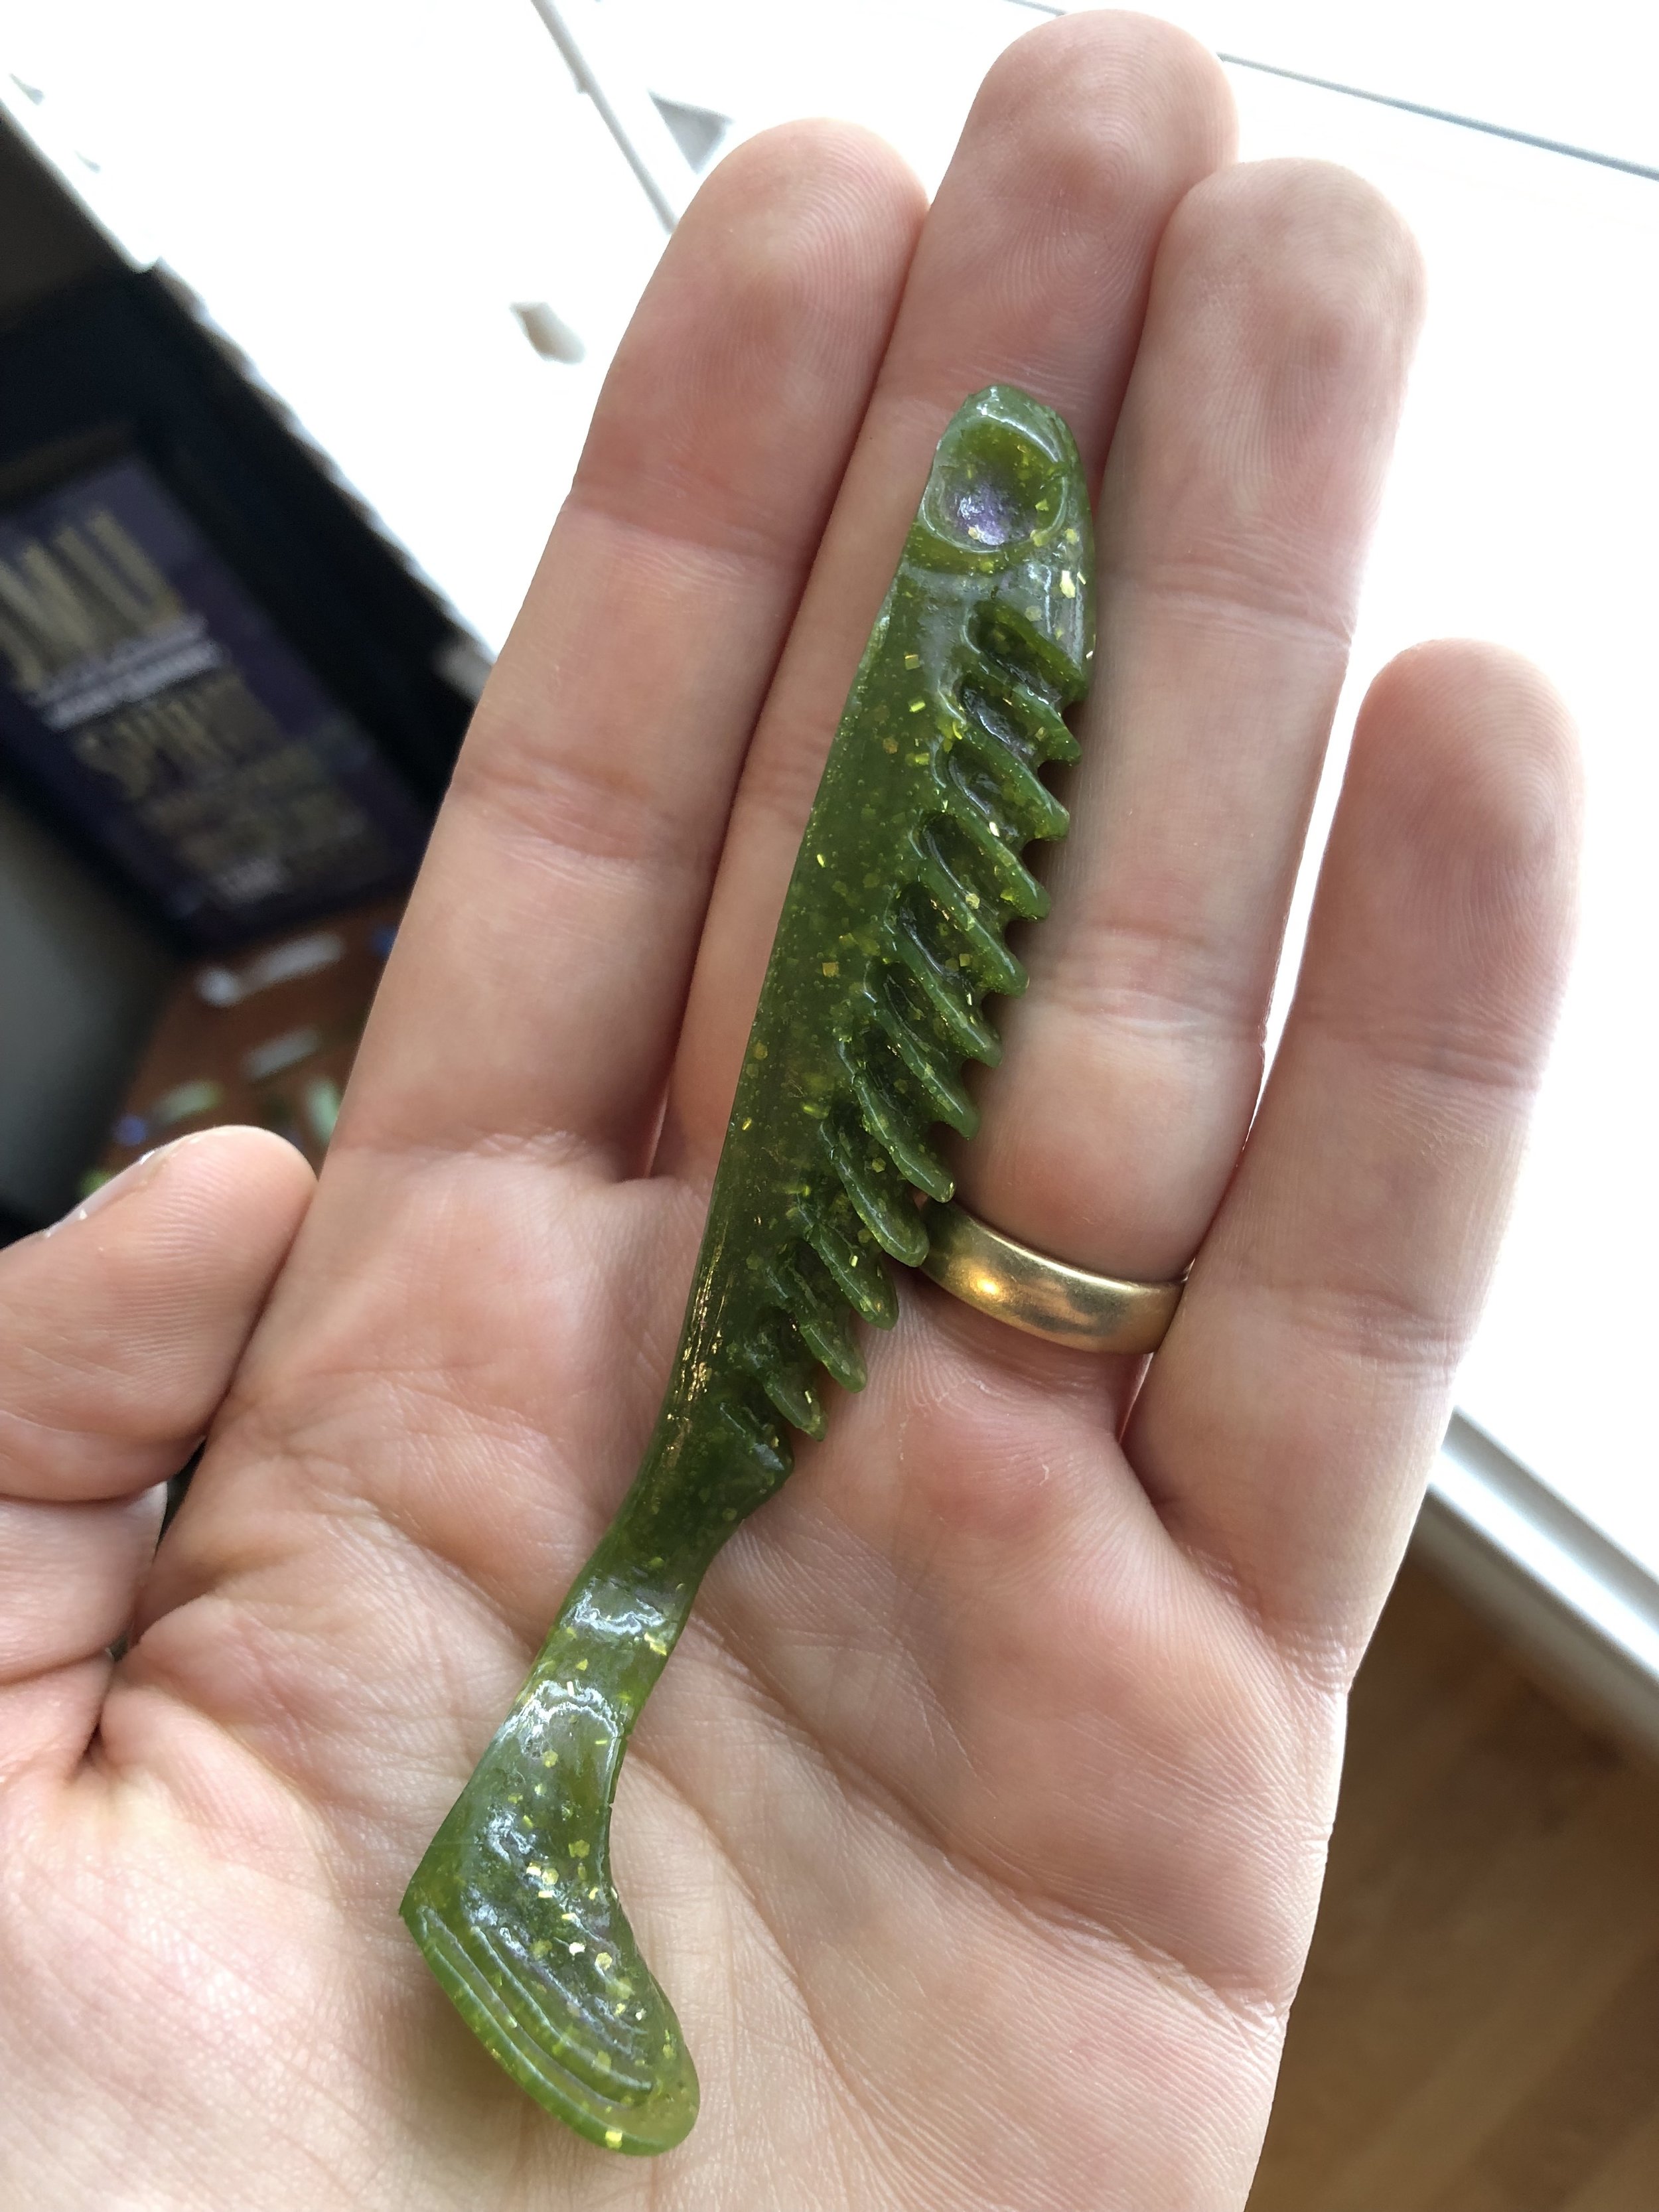
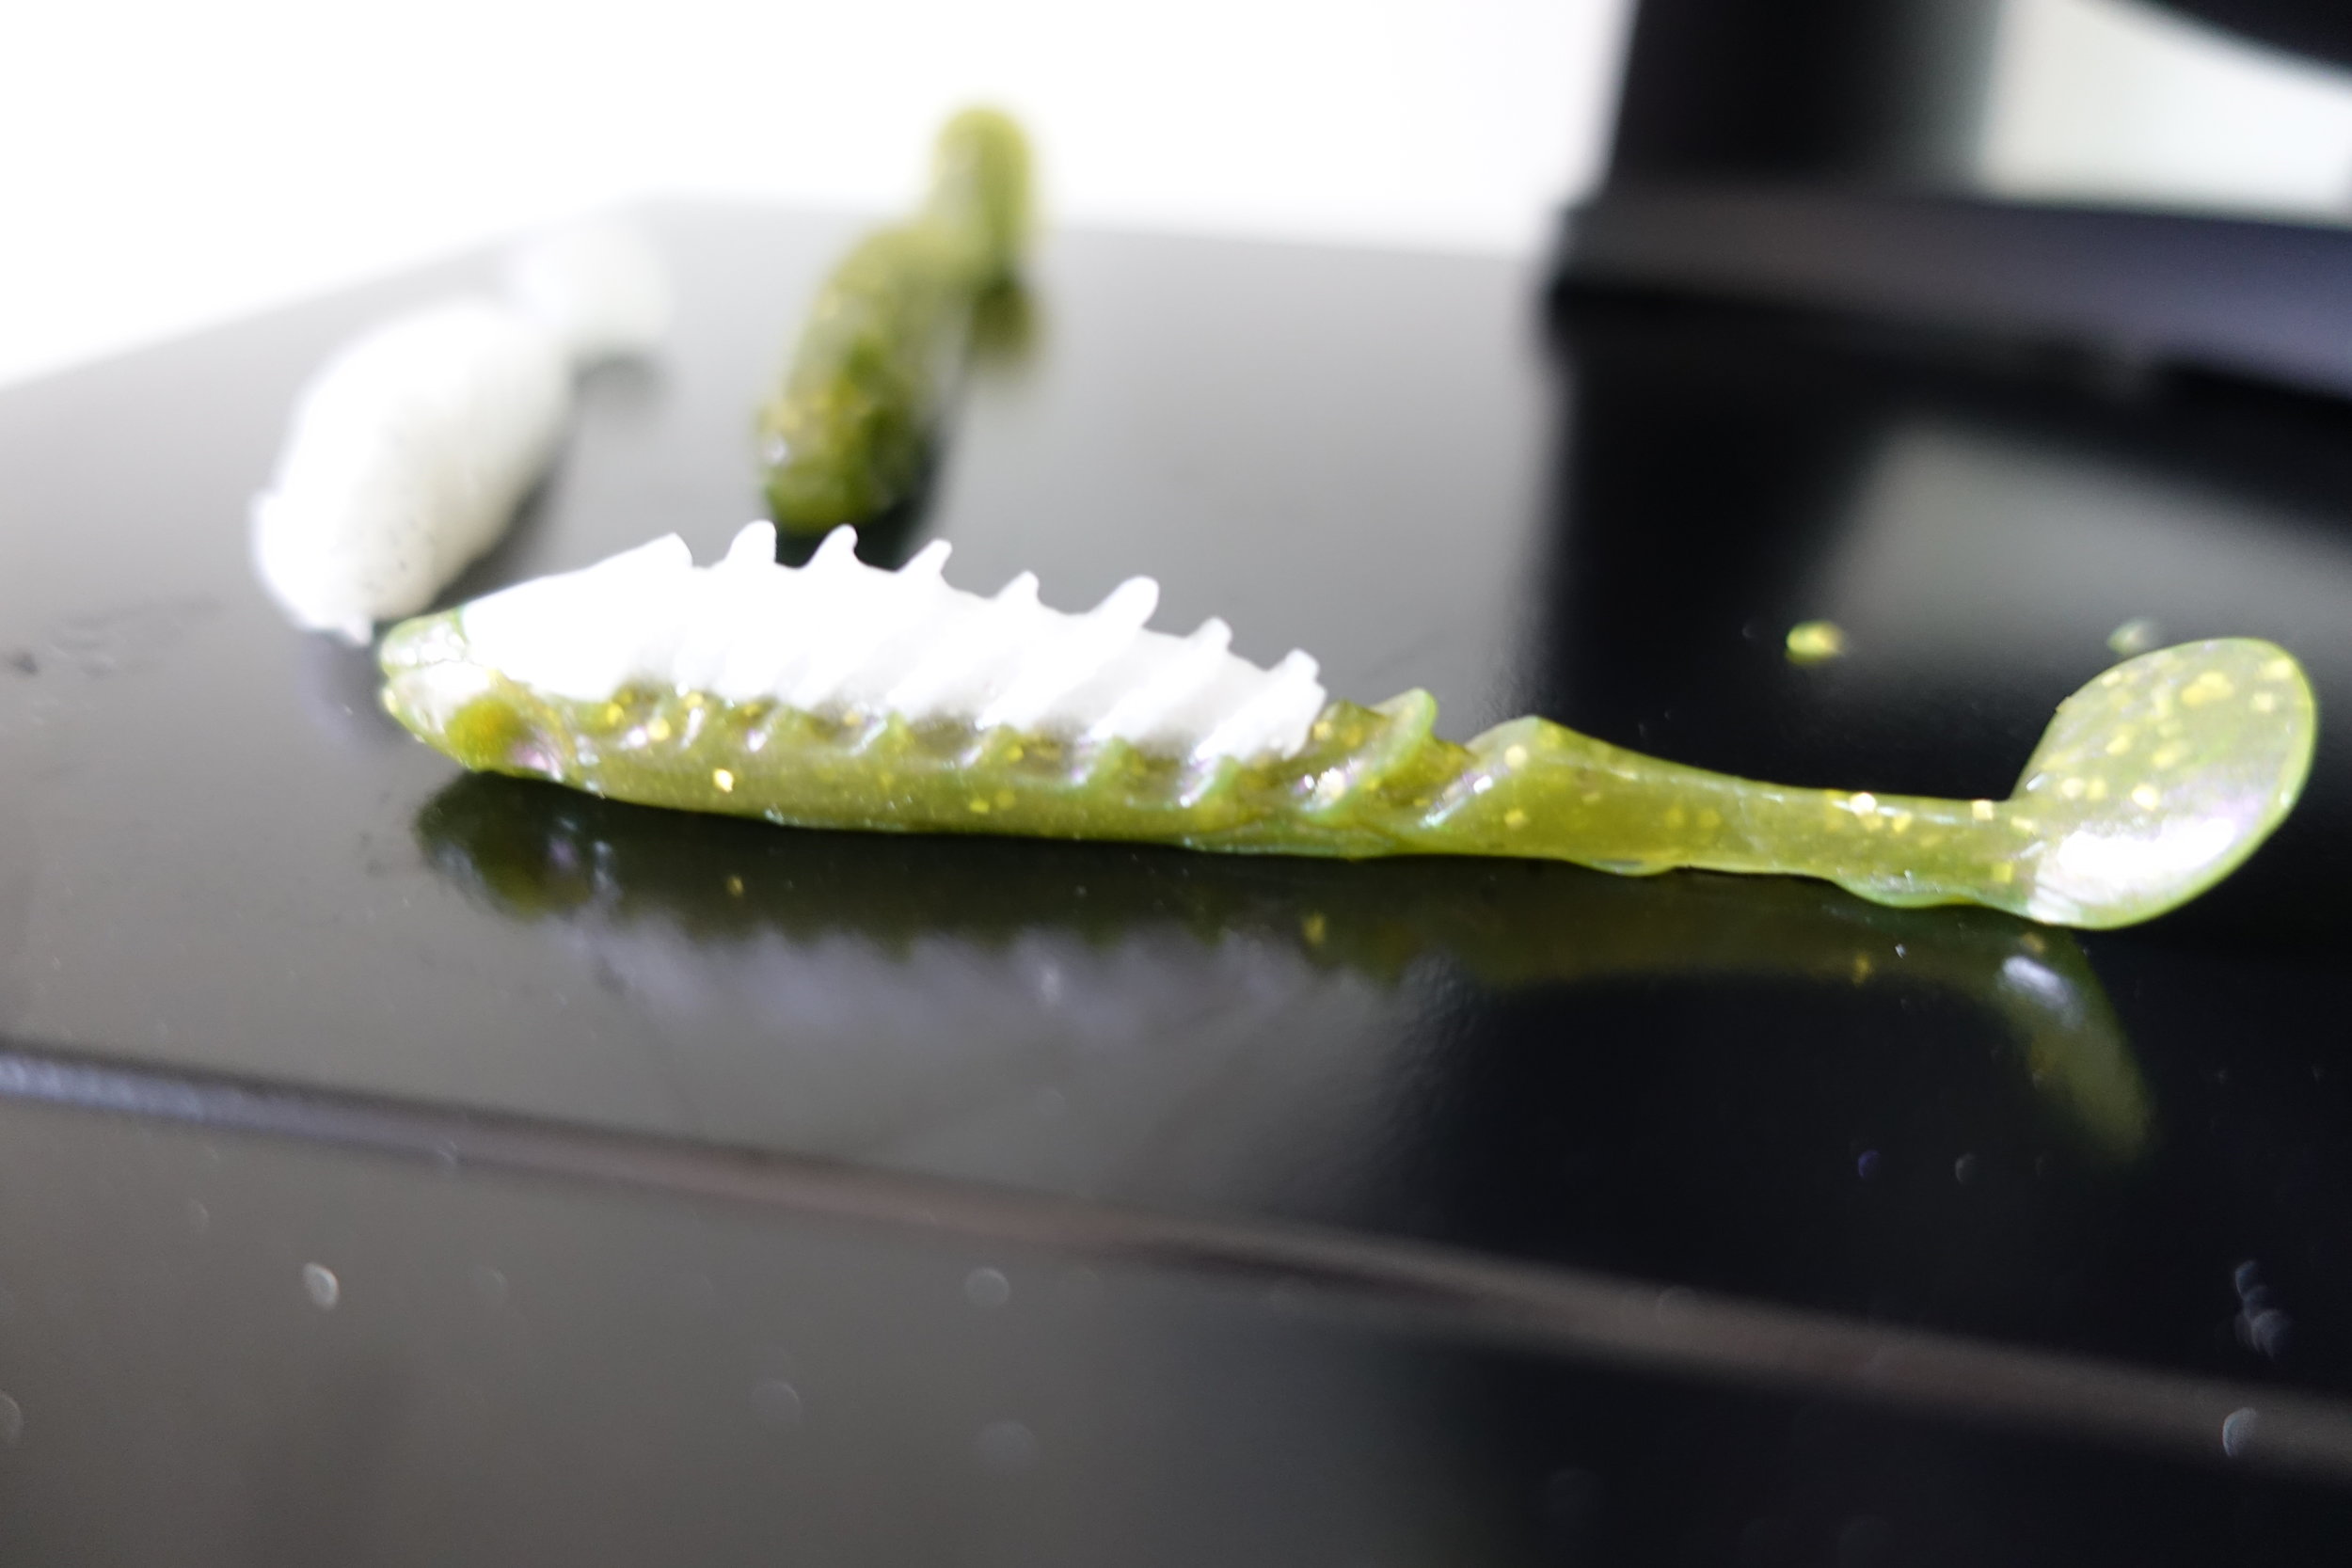
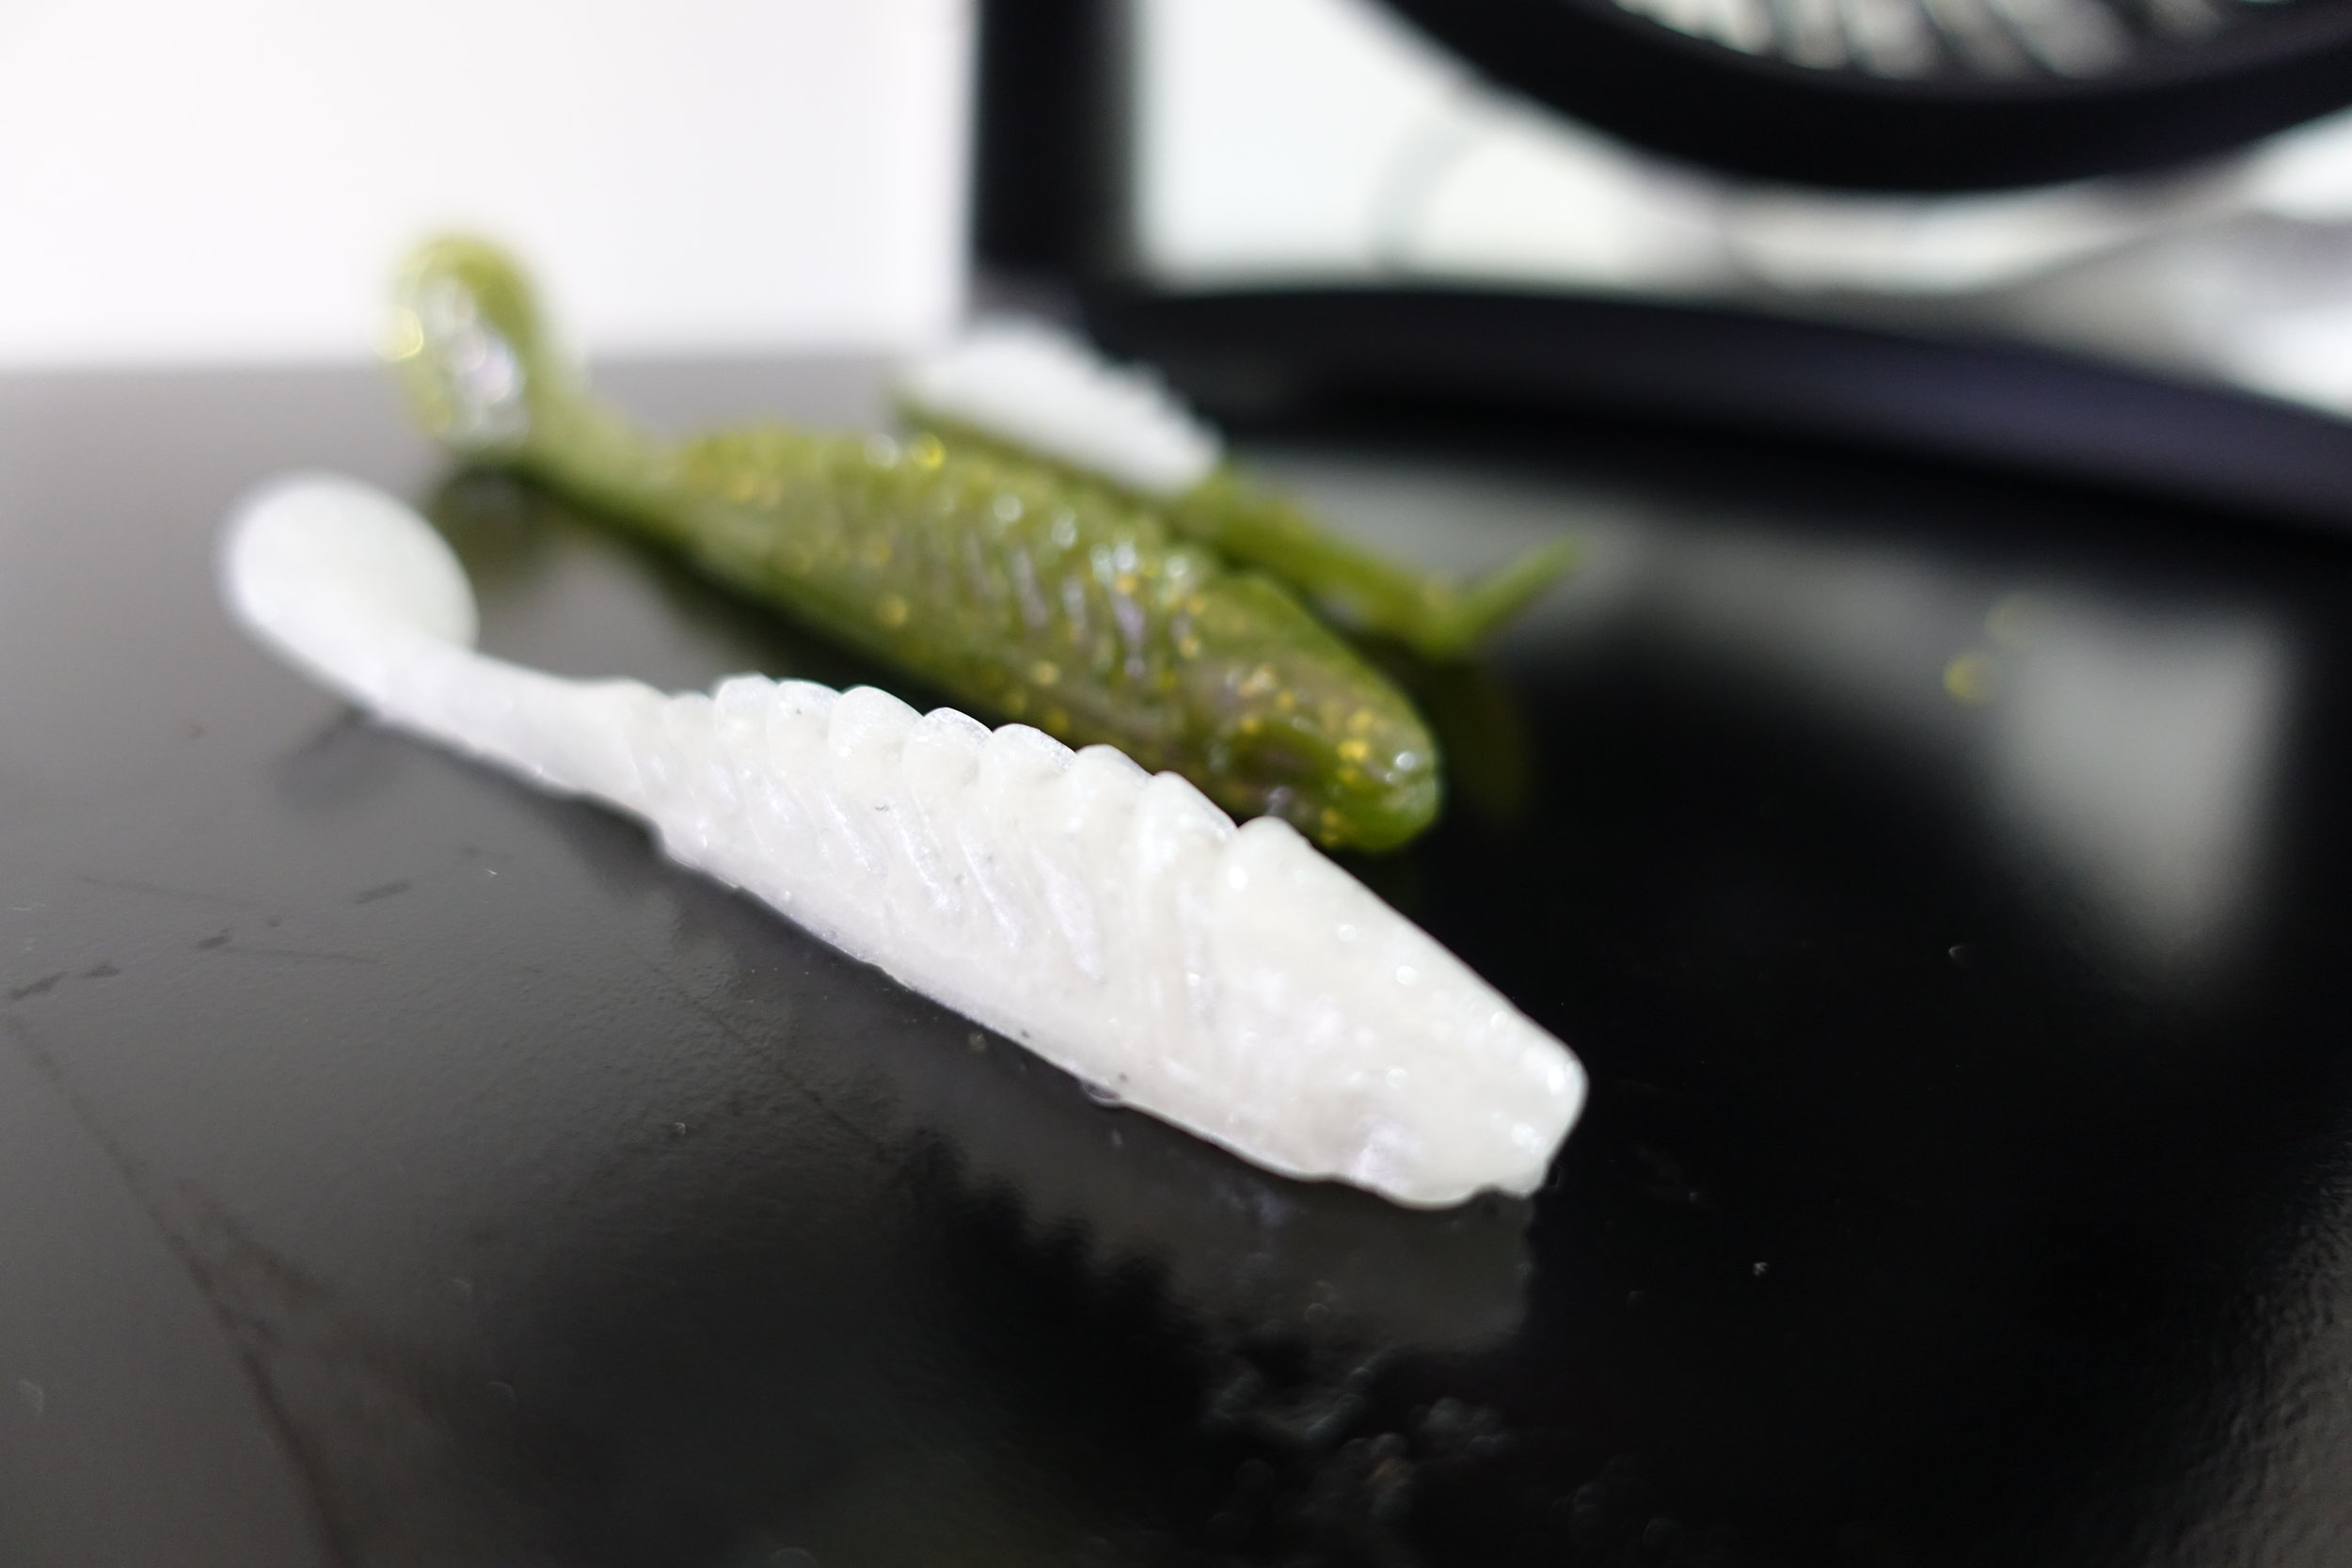
One of my favorite color creations is a mix of watermelon and chartreuse, which makes a bright yet natural looking green. It’s not a typical color you see on the shelf, but it’s a great match for bluegill or a bunker’s back. I add a little gold glitter for depth and shine. A favorite add-in is violet highlight powder. It gives the bait a subtle purple sheen that only shows up at the right angle. If you look at a lot of baitfish, they have a little purple to them, and this powder is a spot-on imitator.
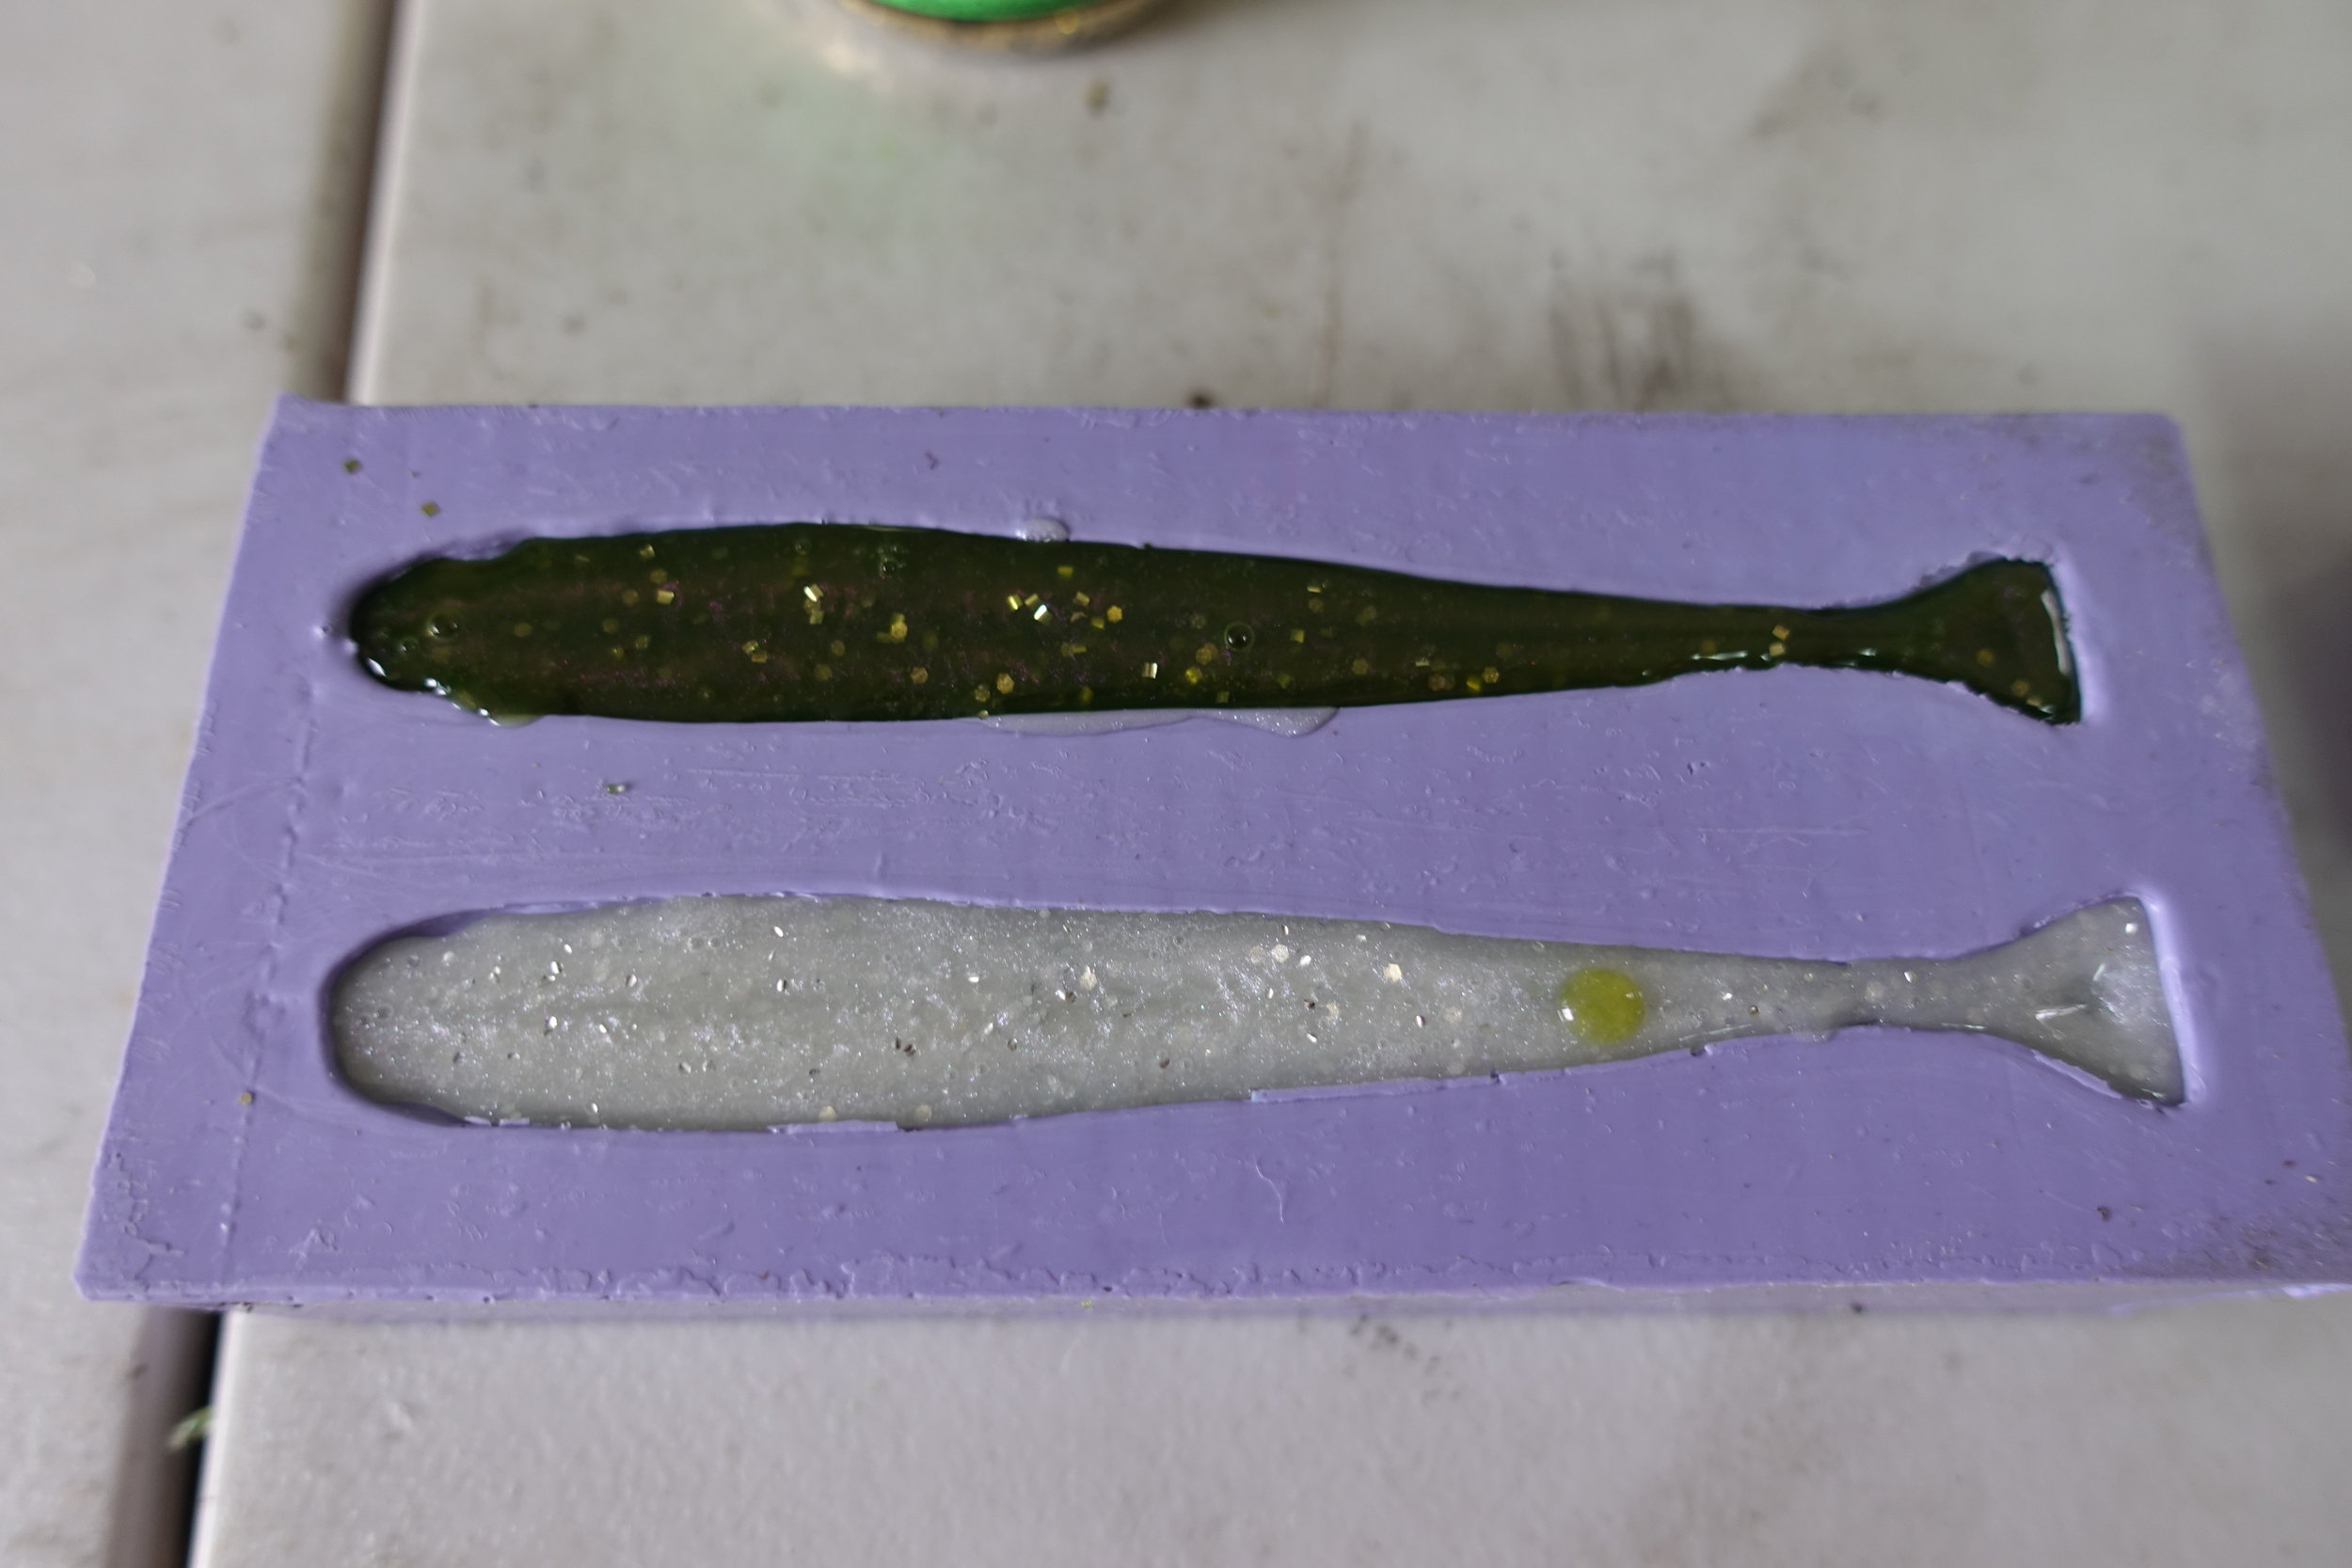
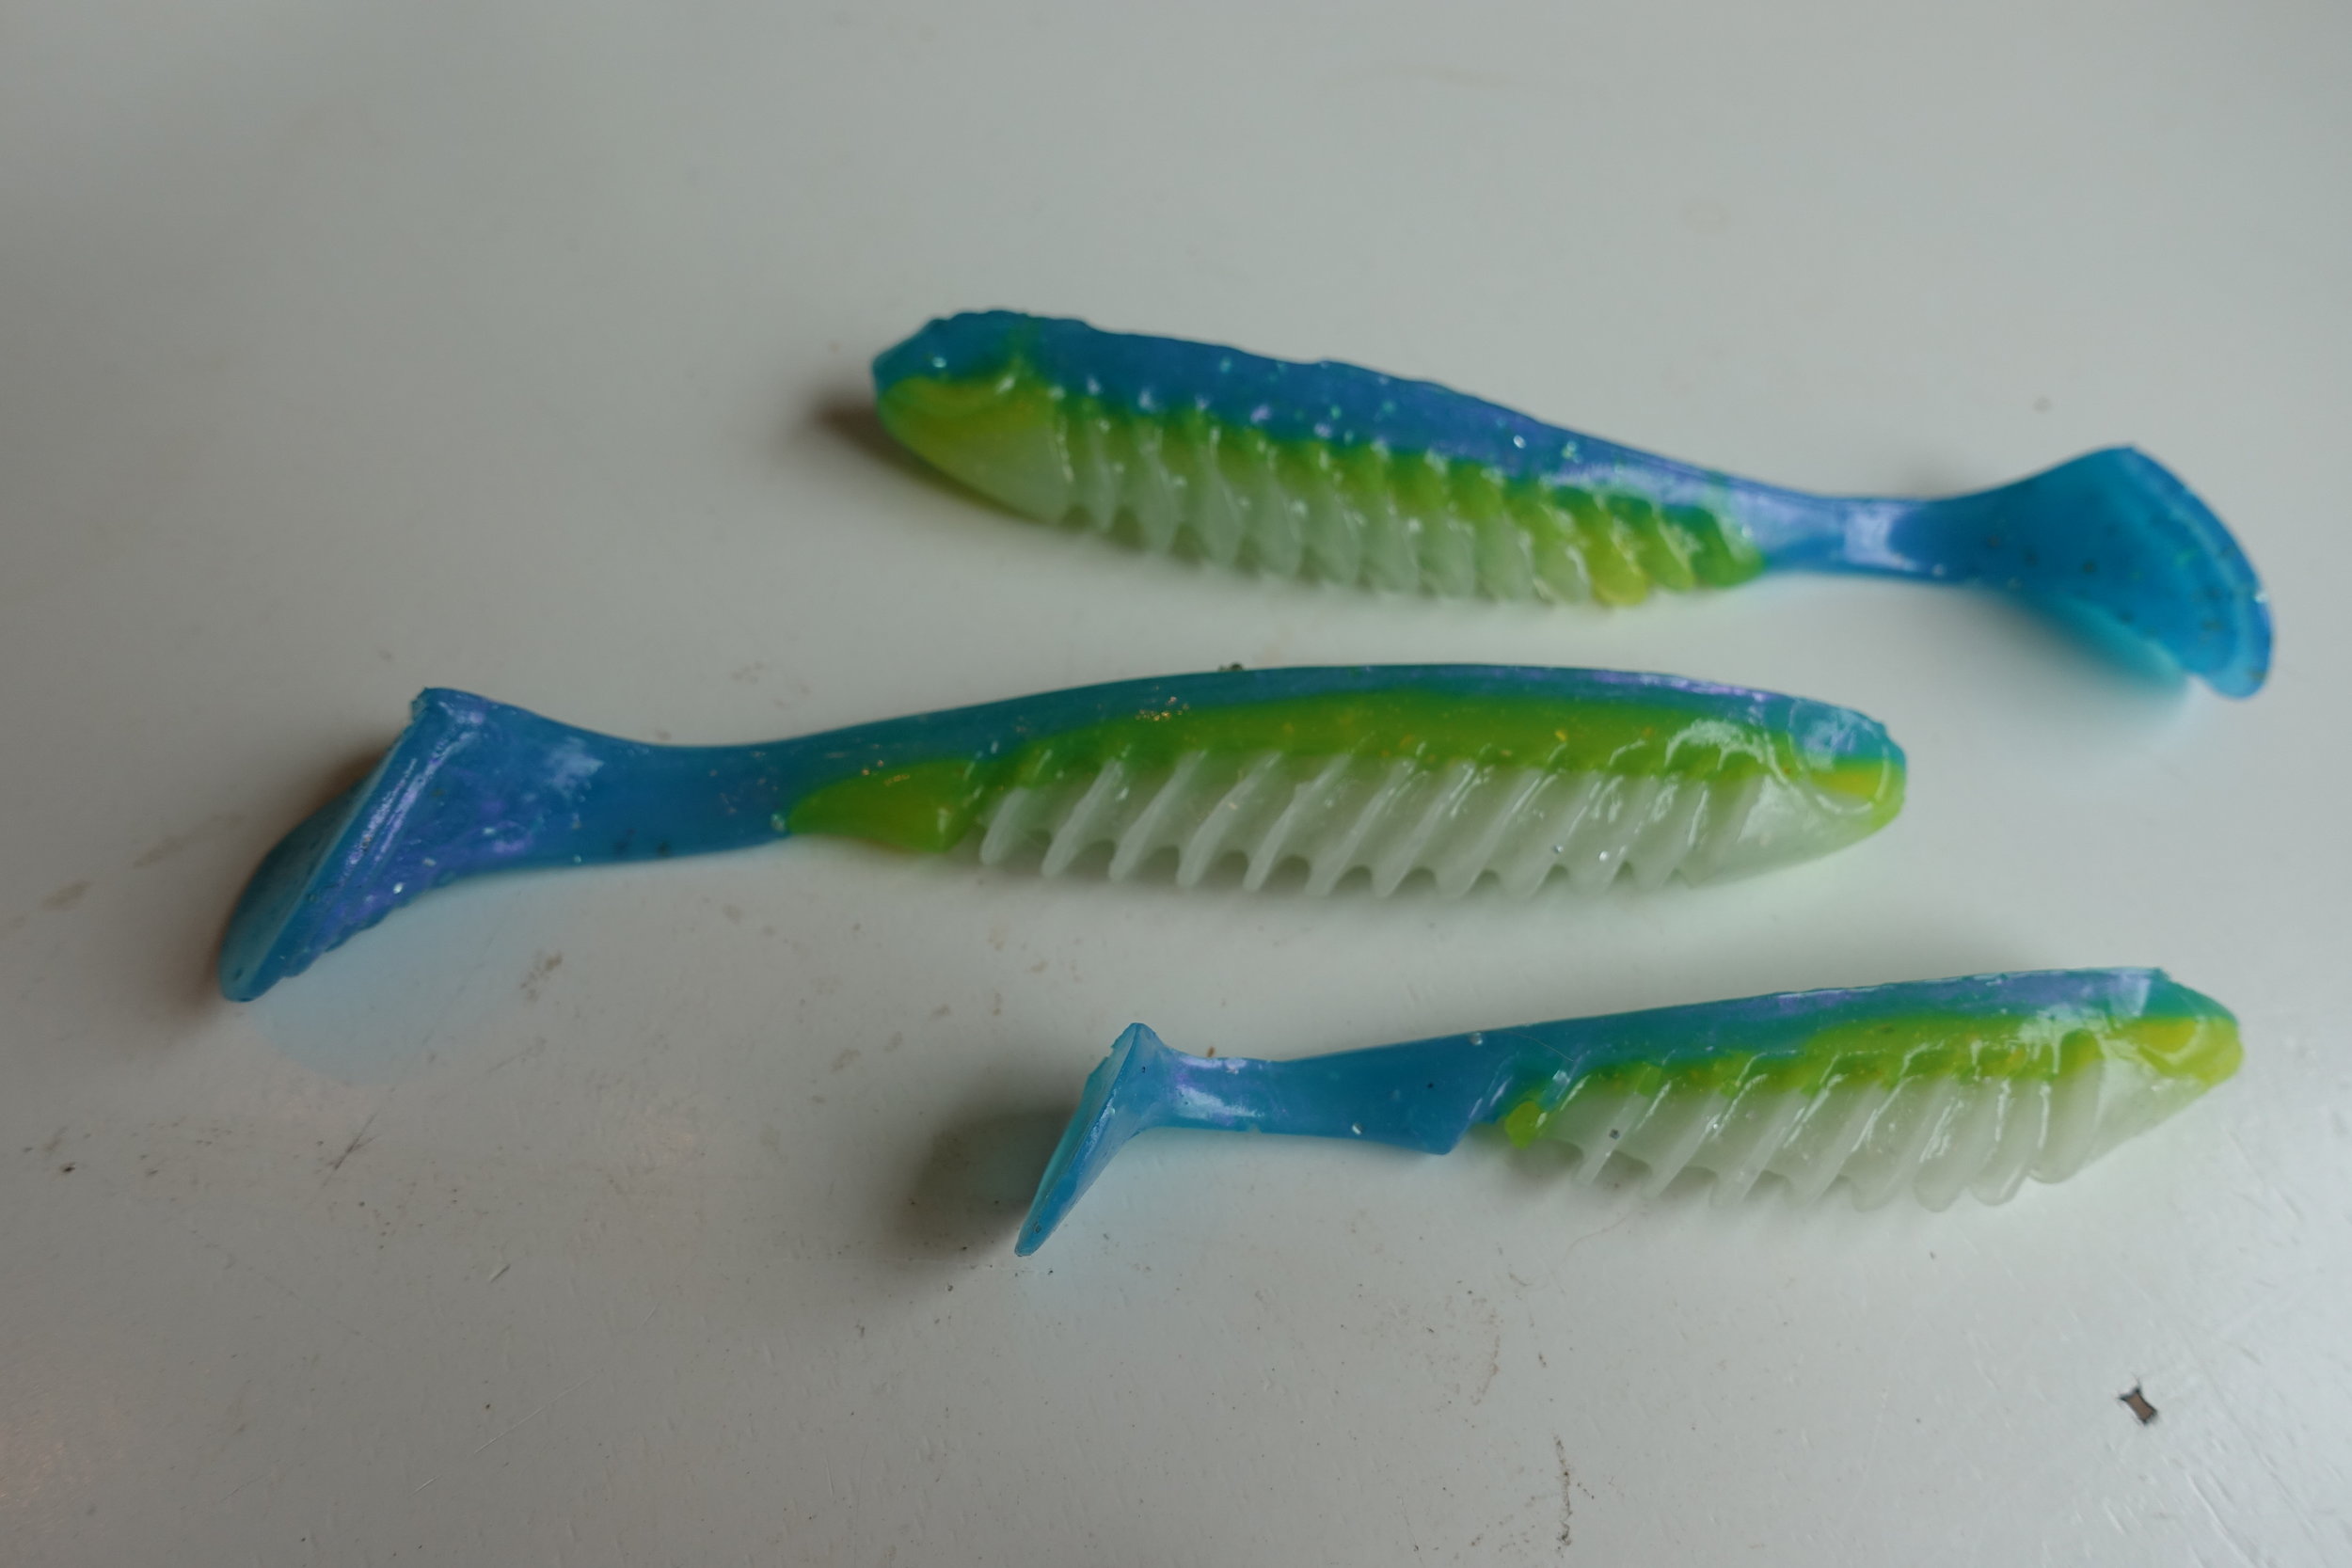
Pretty good pours, accept for he accidental drop of green on the white swimbait.
Pour into Molds
Slowly and carefully pour the liquid plastic into the molds. My silicone molds are from Stanx Bait Co.
Pouring the plastic is the tricky part. Too much plastisol or plastisol outside the mold cavity creates an unsightly lure. The key is to make sure the plastisol is hot and very liquid. If it starts to harden in the measuring cup, it’s difficult to pour smoothly. Keep moving the measuring cup and never stop on the tail section. I made many bulbous tails before learning that lesson.
Then it’s just a few more minutes before the lures set, and you’re ready to pop them out of the molds. The final step is to make them come to life by adding the eyes.
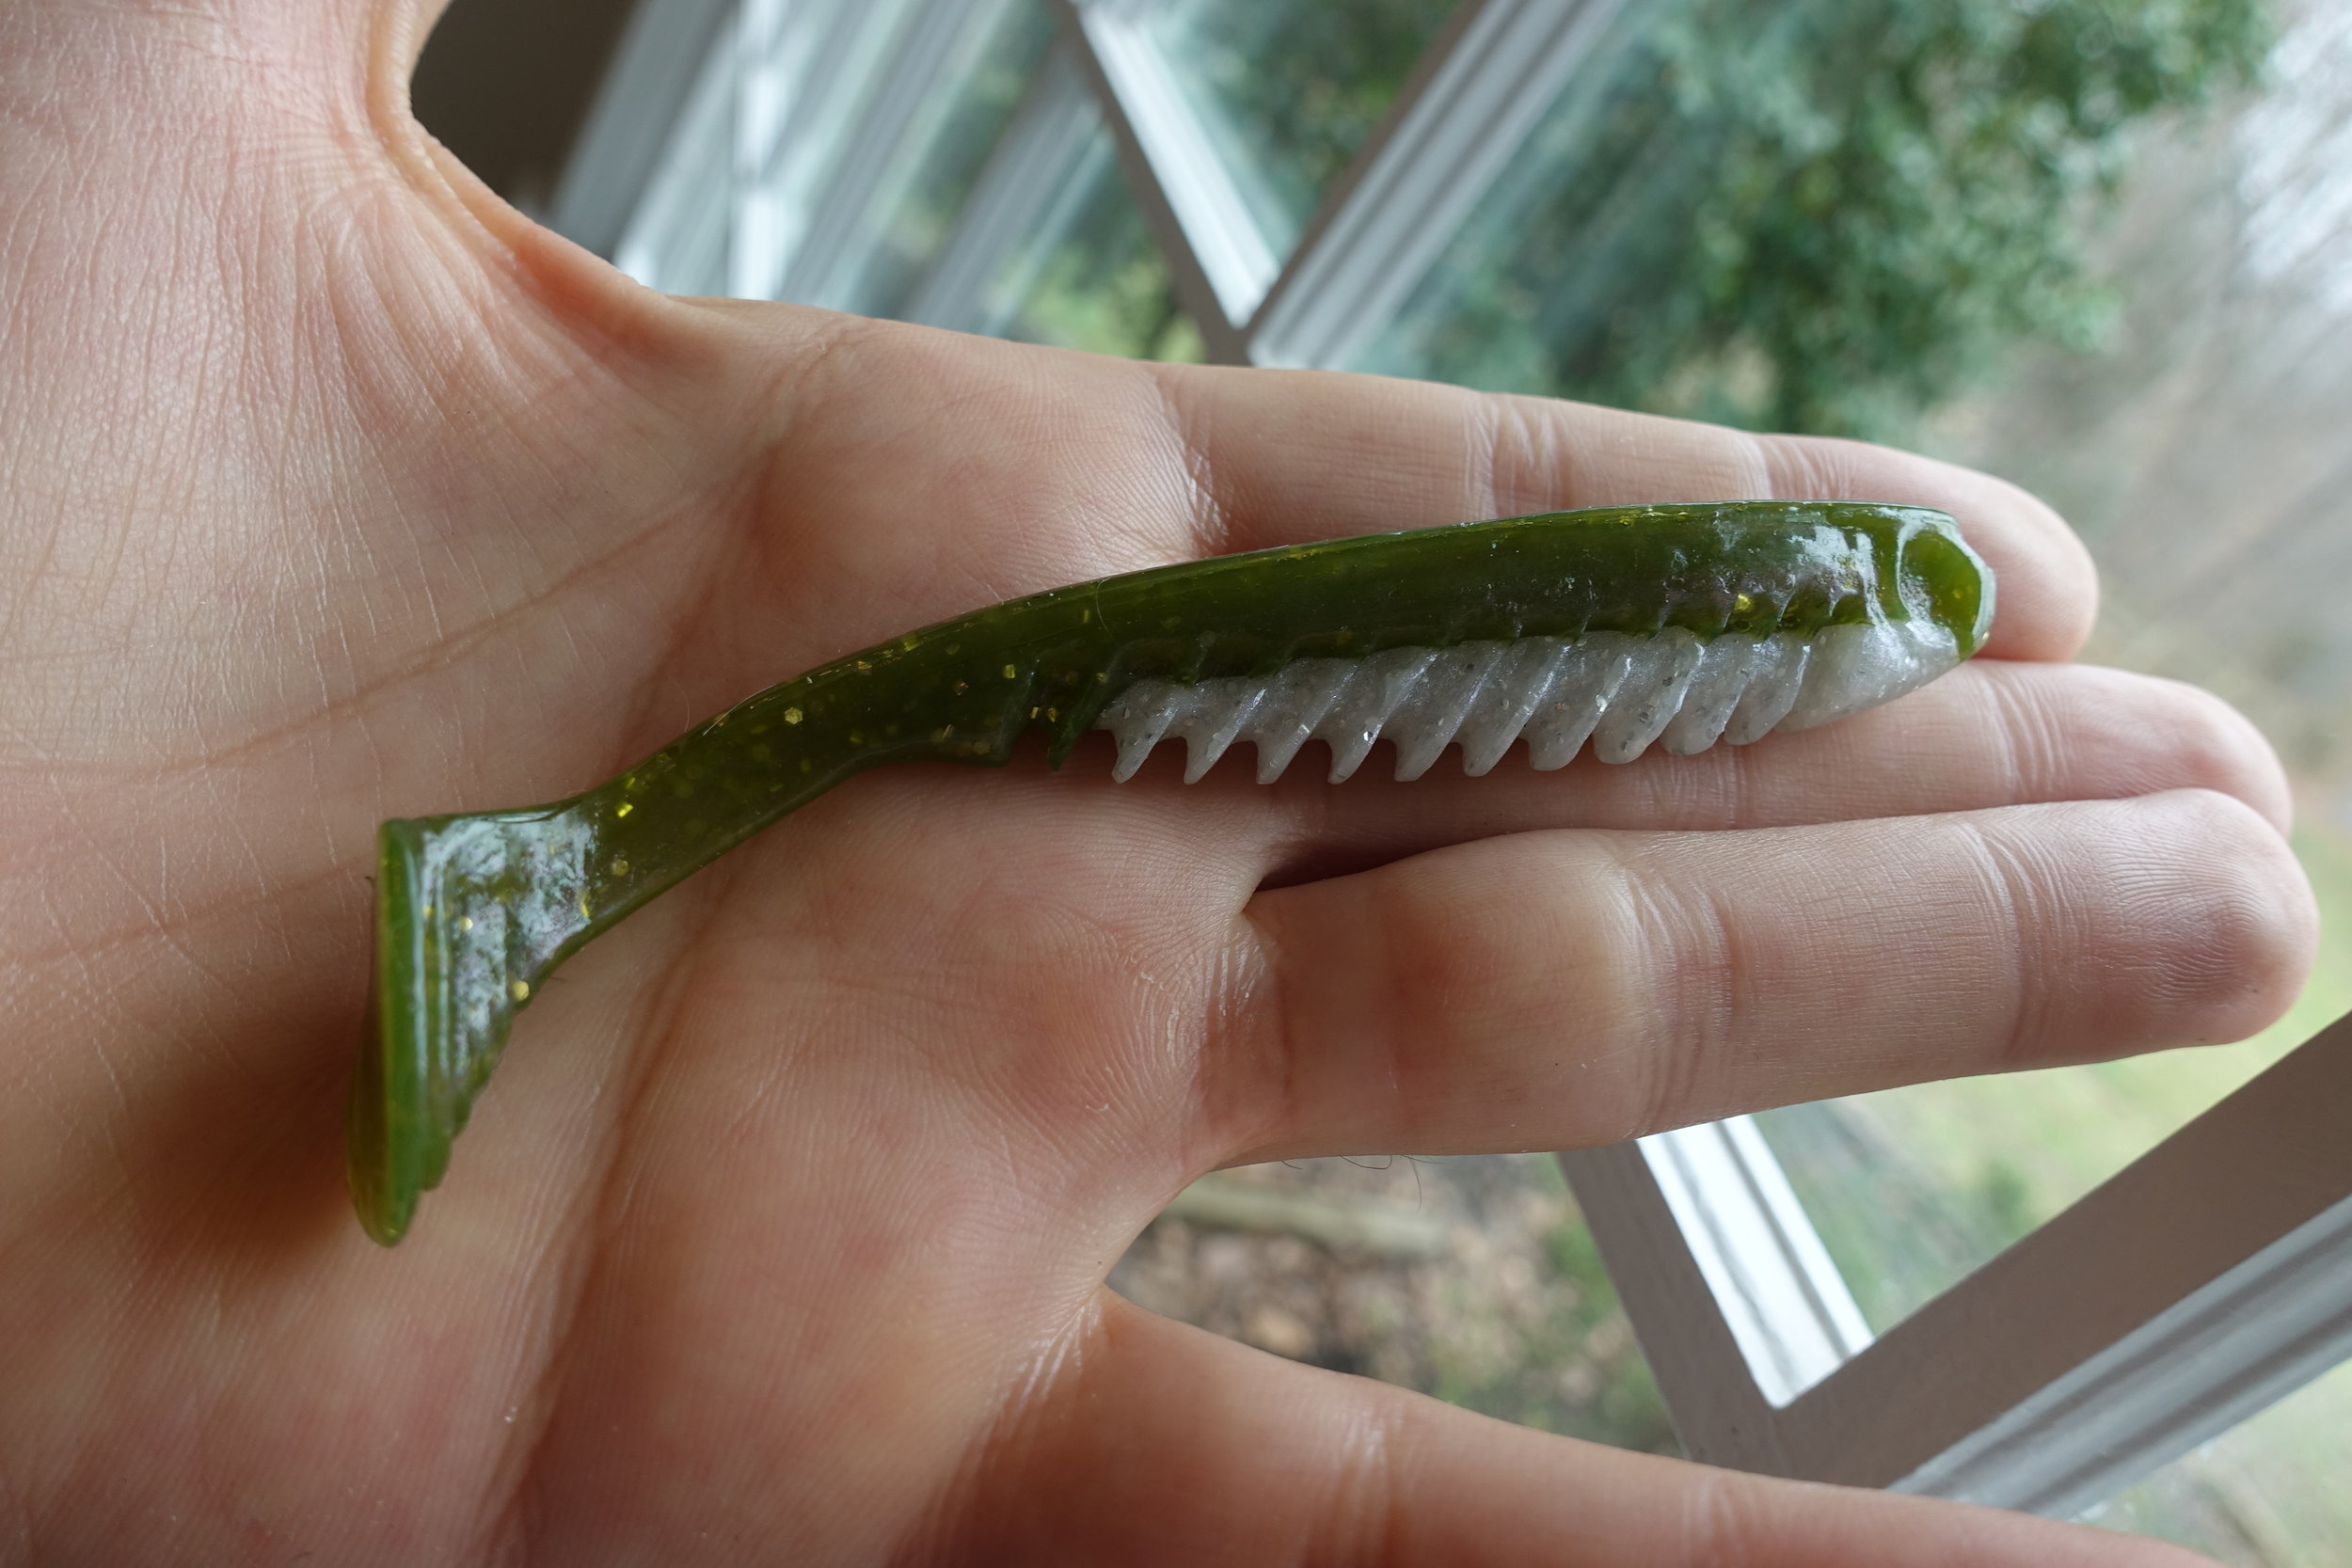


I can quickly knock out a dozen custom swim baits and have them ready to fish. The cool thing is if the fish are keyed in on shad, I can make a bunch of shad colored lures the day before I go fishing. Or, if the water is muddied, I can make baits in colors to match that condition.
Thanks to Hook Shots I have a practical hobby that combines my need for a creative outlet with my passion for fishing. If you’re a crafty fisherman, I highly recommend dedicating a corner of your garage to making soft plastics.